Hello!
The
Creative Expressions DT were given texture paste as part of our package this month....right up my street!
I have the
silver paste....and boy is it silver!!!!
Not a grey like silver, really bright and shiny! Love it!
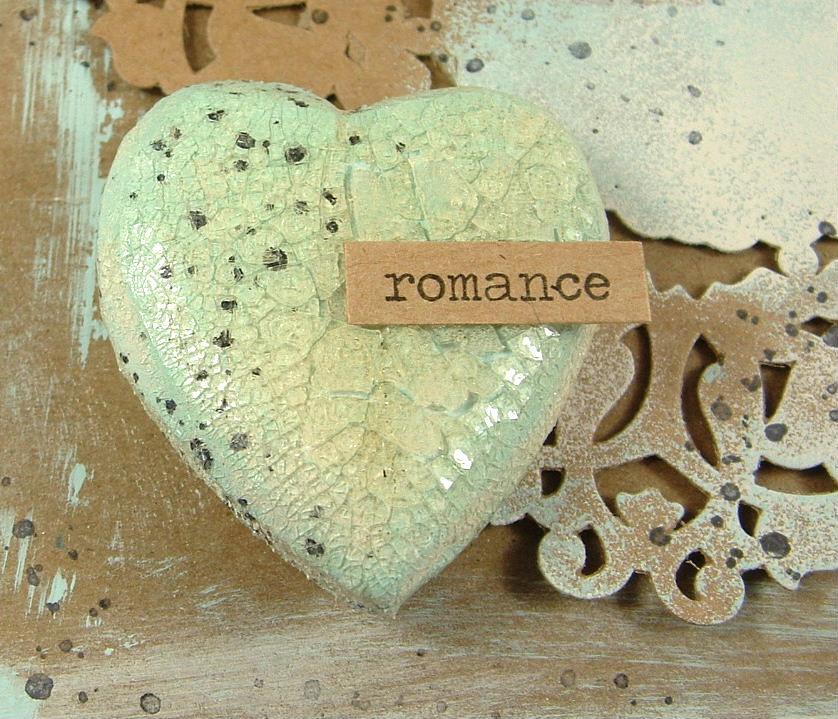
I have kept my project very simple, in order to showcase the texture paste to its full advantage. A heart shaped hanging, full of shine and texture!
Now, not everyone has chipboard hearts lying ready to be used, so I thought I would share a little tutorial on how to create your own hearts, perfectly shaped every time!
I saw this on a cake making web site..and thought it would perfectly well for card too!
Firstly, cut a circle from chipboard. Either die cut one, or draw around something suitable. The bigger the circle, the bigger the heart! Cut the circle in half...
Measure the diameter of the circle, then cut a square using the same measurement....
Place the three shapes together like this....
Ta-Da!! A heart! Use sticky tape or masking tape to join the pieces together, then cover with something to hide the joins. I used old book pages....
This gives a nice base on which to work, even though in my project it's barely noticeable!
To finish off my heart, I gave it a wash of white
paint, followed by a light covering of blue. I then scraped the texture paste onto the heart. It isn't a must to use a stencil for this, I have used plain old sequin waste (punchinella) on my heart...
I decided to have a go at heating the texture paste, just to see if it would rise up like acrylic paint does when it's hot....oh yes! The really lumpy circles have been domed due to the heating, the more deflated ones are circles that have gone 'pop'!!! Fab result....
I added a large eyelet to the heart so I could thread some seam binding through...
A
Chit Chat sticker finishes off my hanging.
If you like texture paste, then I would really recommend this......I have tried before to get a silver colour by adding silver paint to regular paste, but haven't managed to get this level of shine!
Trish xx