Hello!
It's time for the new
Craft Stamper Blog Challenge to be revealed.... and this is right up my street! Splats! Any kind of splattering at all, be it ink, water, paint or even stamped.... that's all you need to do on your work (and a little stamping of course) and you're good to go..... easy peasy, and there are some great things to be won too. A voucher, publication and a Guest DT spot!
So.... on to my contribution...
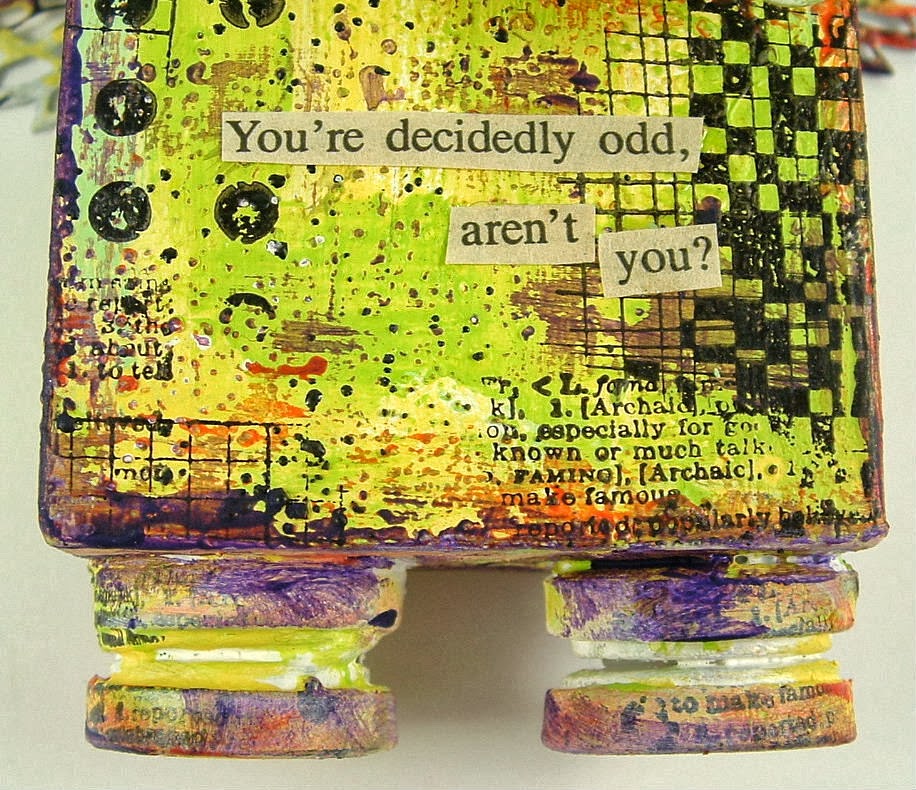
I've made a painty panel in shades of green, with a little few silver and red accents. Three different was to add splatter on this one! You'll see as we go along.....
As I wanted to stitch onto my project, I started off with a cardstock square rather my usual chipboard. THAT won't go near a sewing machine! I used grunge paste through a new Tim stencil to create the stars...
Love these, great shape and lots of sizes on the stencil. Green paint was then smeared all over, and dried off. I covered the background then with an alphabet /text stamp.... tricky to see because the whole thing then got a wash of white! The hazy shadow of the stamping peeks through here and there for a subtle look. Lots of other random background stamping to develop the layers...
Then I started with the splats! I stamped a splat design using plum archival ink...
I also flicked black paint at my piece, to give an almost shooting star splat effect...
You can also see white splatty dots on there too.....they are melted grains of white UTEE, looks fab as a splatter! I also highlighted a few areas with silver gilding wax...if you're careful you can turn those raised UTEE dots metallic....
See how the ones on the left are all shiny silver? Love this effect!
As you can see I did some stitching.... around the edges and a little in the corner above. I also stitched a line for my girls to stand on.....
Your images always need to be grounded, can't have them floating about your work....
So.... three splatter techniques in one piece!
Please hop on over to the
Craft Stamper blog, where you will find all the details of how to enter the challenge. Go on, you know you want to......!
Trish xxxxx